Giveaway — The Joy of Lettering: Negative letters

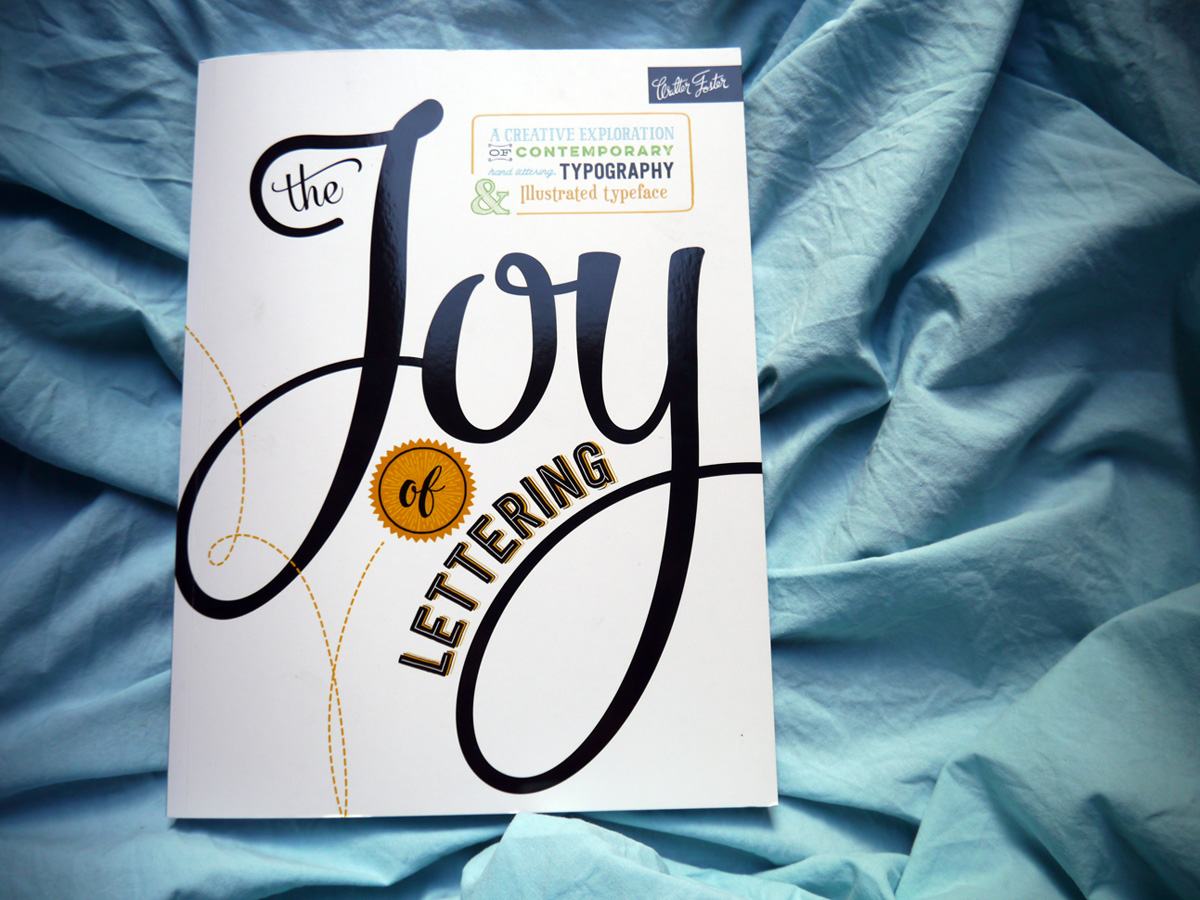
With thanks to Quarto publishing, you have the chance to win The Joy of Lettering: A creative exploration of contemporary hand lettering, typography & illustrated typeface, Gabri Joy Kirkendall and Jaclyn Escalera's new lettering book. Find out how to enter at the end of this blog post. As part of my upcoming overall review for The Joy of Lettering, I've selected three projects to dedicate time to and see what transpires. In addition to giving you a walk through of my process, I'll be rating each project difficulty (easy/medium/hard), duration and accuracy to step plan.
Negative lettering
Duration - (I took approx 2 hours excluding practice)
Difficulty - (medium)
True to step plan — Yes. I added a couple of extra steps of my own, but you could definitely follow as instructed.

sml-negletters1
1. Planning your negative space and doodling
I haven't done any doodling/zentangling for a really long time, so I gave myself an extra step of roughly sketching out and getting in the zone. When I searched for zentangling ideas, I learned (from WikiHow, no less), that this art form is as much about the journey as it is the outcome. It is a meditative process, and definitely one that is going to take time. But hopefully the time you take is mentally restorative. So...worth it. I also learned that a zentangle shouldn't really be planned, but should evolve (which is why the rough draft isn't finished... I just wanted to get to a point of confidence before putting pen to paper).

sml-neglettersa
2. Preparing your paper and letters
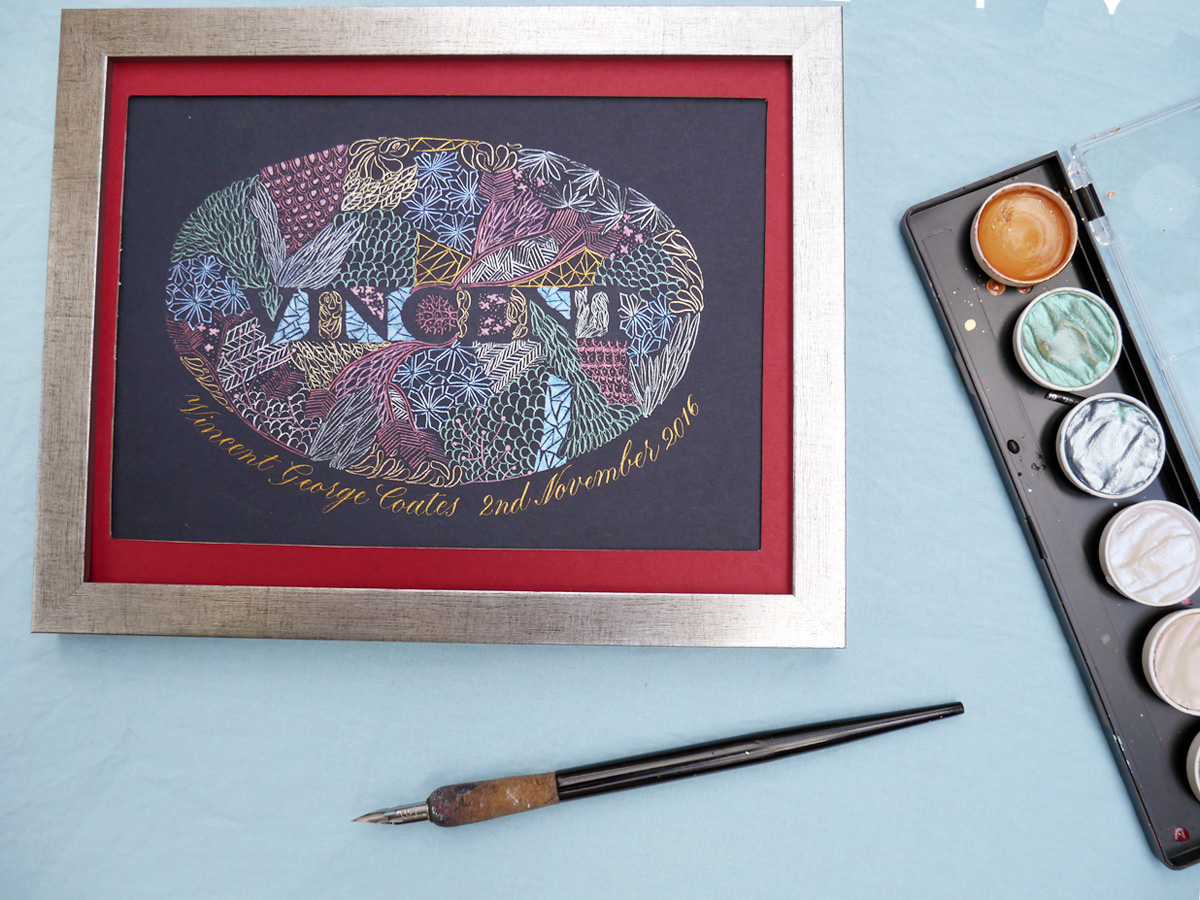
I knew immediately when I saw this project in The Joy of Lettering that I wanted it to be for a newborn baby boy, and that I wanted it on navy card stock. This added an element of difficulty for me because I couldn't just whip out my black ink pens and doodle away on some white paper. I was going to have to use white or metallic ink so that the zentangle would show. I decided I would use Finetec's metallic watercolour paints and apply them with a Nikko G calligraphy nib (in a straight holder).
Even choosing an A5 piece of card, I knew the doodling could take a while, so I took a shortcut with my letters and simply printed out the word in a font I liked at a size that fit.
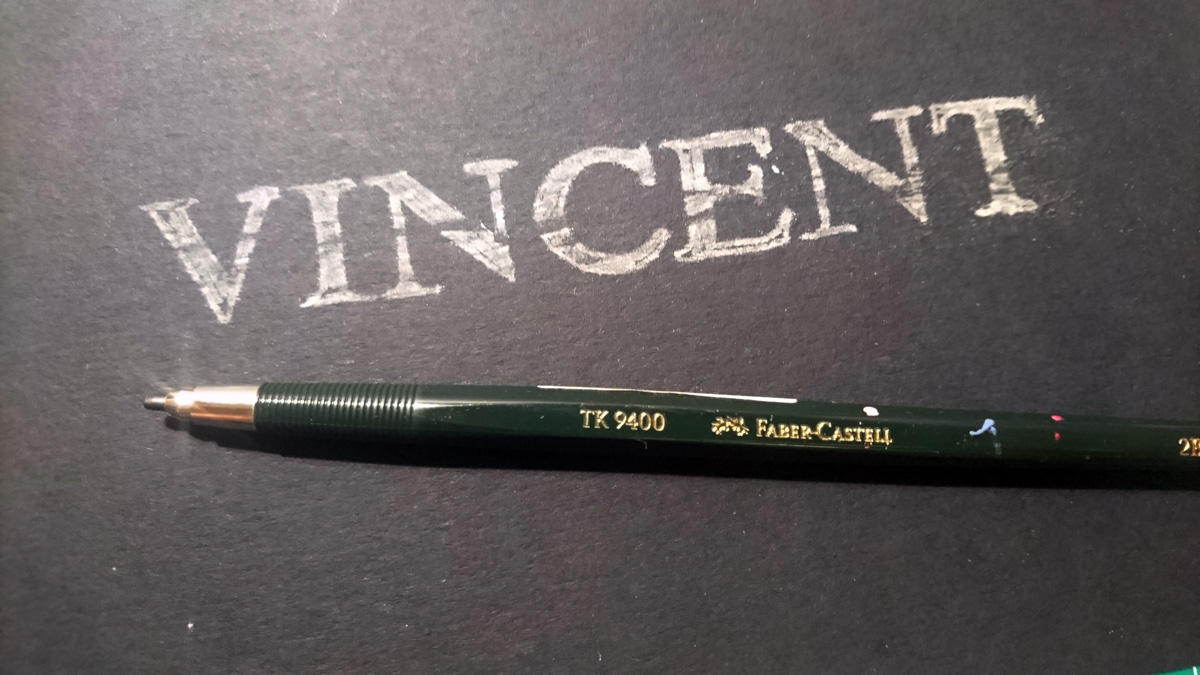
I applied chalk to the back of the paper, then lay that on my card and traced over the letters with a soft (2B) bluntish mechanical pencil (Faber Castell TK9400). I then drew a very (regrettably) rough oval shape around the lettering in soapstone to contain the doodles.

Chalk applied to the back of paper in order to trace lettering onto dark card stock
sml-neglettersc
3. Doodling around your negative letters
I won't lie, I was a little daunted about how I was going to fill all of this space and have it look good. So I broke it down into manageable pieces with the help of my Finetec palette of colours. Each colour could represent one or two doodle styles, so I could just work through each colour block and build it up that way. It really allowed me to stop thinking too much about things and just be serious about my meditative lettering.

sml-neglettersd

sml-negletterse

sml-neglettersf
4. Finishing up
The final thing for me to do was to clean away the chalk (with a soft tissue or cloth) so that my negative letters took pride of place, and to add the little one's birth details in gold copperplate calligraphy beneath. You could easily add a frame (I bought one from Fielders, Wimbledon, courtesy of the Ready Made Picture Frame Company, and cut my own mount to fit the A5 card stock from their offcuts).
sml-negletters2
Enter the Joy of Lettering giveaway
sml-joyofletteringbook
I'm really pleased to be able to offer this book as a prize to my readers. I think it's an invaluable source of inspiration for your collection, set out in a really accessible way for beginners and professionals alike. Unfortunately, I can only offer the prize to those based in the UK, but I promise I'll be doing more international giveaways in the future so stay tuned!
To enter, submit your entries via the widget below. It will require you to sign in and then check off each step that you take to enter (e.g. if you tweet something, you need to indicate that you've done it in the widget — it's not automatically detected).